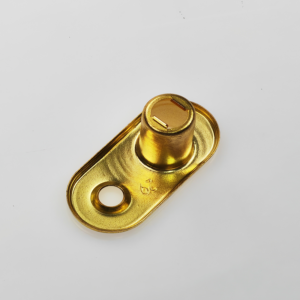
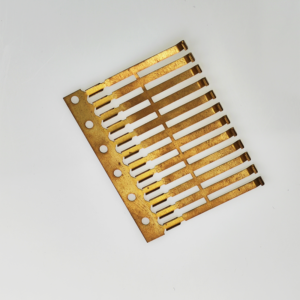
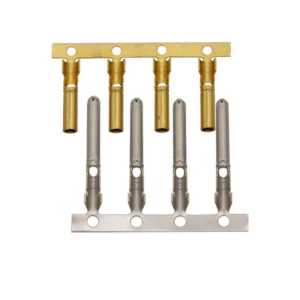
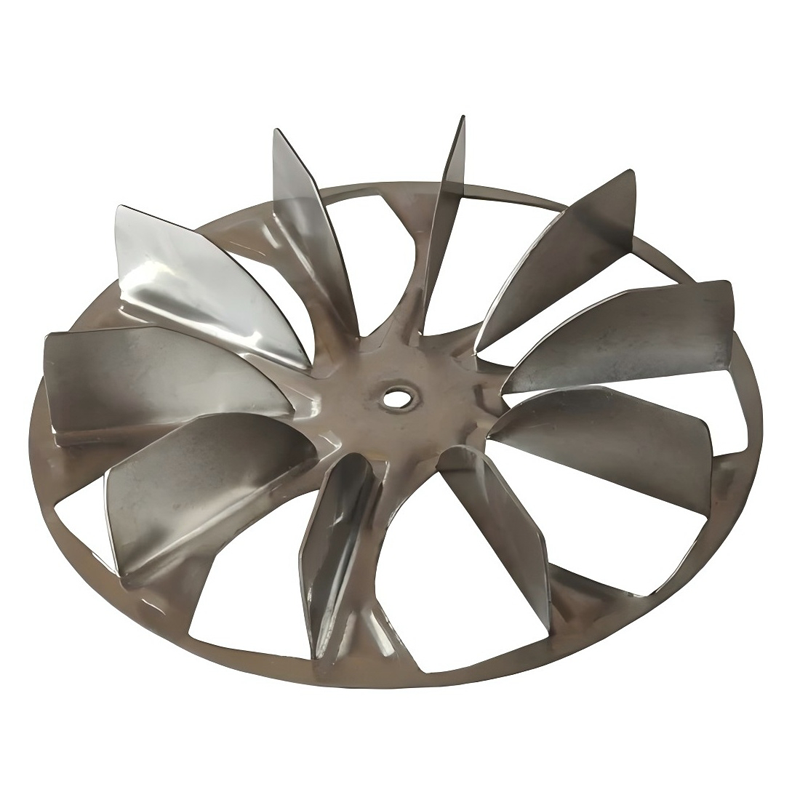
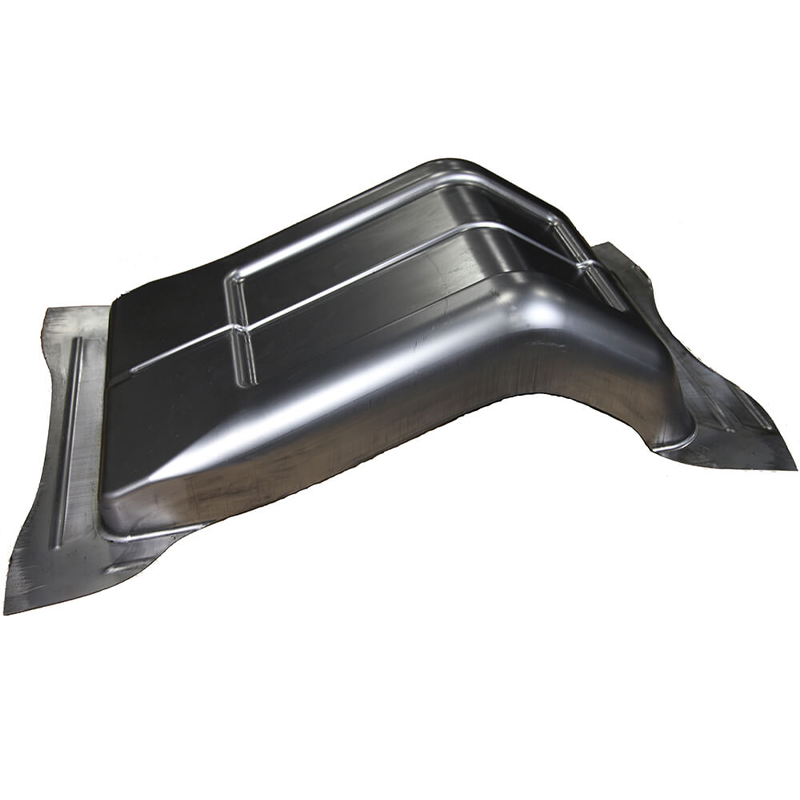
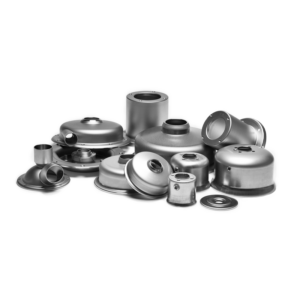
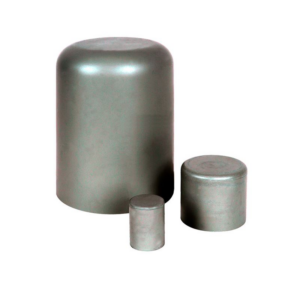
Aluminum Foil Deep Drawing is a precision metal forming process that involves shaping aluminum foil into complex, high-precision components through the application of force. This technique is ideal for creating seamless, lightweight, and durable parts, commonly used in industries such as automotive, aerospace, and food packaging. The deep drawing process begins with a flat aluminum sheet, which is drawn into a mold using a punch to achieve the desired shape. Aluminum foil’s excellent malleability and strength make it an ideal material for this method, offering superior resistance to corrosion and heat. This process allows for the mass production of intricate parts with minimal waste, ensuring cost-effectiveness and high-quality output.
Specifications
Surface Treatments: Galvanized, nickel plated, black oxide, dacromet, chrome-plated, nylok, white washing, phosphate, gold plated, anti-corrosion coating, etc.
Sample Time: 7-12 days
Lead Time: 15-25 days
Payment Terms: T/T, L/C with 30% deposit, balance due before shipping
Packaging: Carton and pallet, customizable as per requirements
Delivery Methods: By sea or express
Quality Control Process for Metal Stamping
- Incoming Material Inspection
– Description: Evaluate raw materials for compliance with specifications and quality standards before production. This includes testing material properties such as thickness, hardness, and chemical composition.
- Pre-Production Sampling
– Description: Conduct initial trials and inspections on pre-production samples to ensure that the stamping process and tooling produce parts within the required tolerances and quality levels.
- In-Process Monitoring
– Description: Implement continuous monitoring during production to ensure that the stamping process remains consistent. This includes checking for defects like warping, misalignment, and dimensional accuracy.
- Dimensional Inspection
– Description: Use precision measuring instruments such as calipers, micrometers, and CMMs (Coordinate Measuring Machines) to verify that parts meet specified dimensions and tolerances.
- Functional Testing
– Description: Test parts for proper functionality, ensuring they meet the required performance criteria. This may include checks for fit, alignment, and operational integrity.
- Surface Quality Inspection
– Description: Inspect the surface finish of parts for defects such as scratches, dents, or coatings issues. This includes visual inspections and using tools to assess surface texture and coating integrity.
- Post-Production Testing
– Description: Conduct additional tests on completed parts, including stress and load tests, to confirm durability and reliability under real-world conditions.
- Final Inspection and Approval
– Description: Perform a comprehensive final inspection before shipping, ensuring that all parts meet quality standards and specifications. Approve or reject parts based on this thorough evaluation.
- Documentation and Reporting
– Description: Maintain detailed records of quality control inspections and tests. Document any defects or non-conformance issues and report them for corrective actions.
- Feedback and Continuous Improvement
– Description: Review quality control data to identify trends and areas for improvement. Implement corrective actions and process improvements to enhance overall product quality and efficiency.

