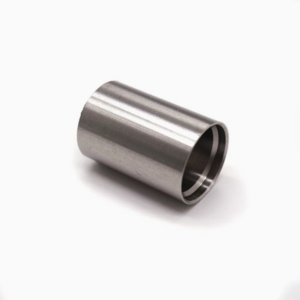
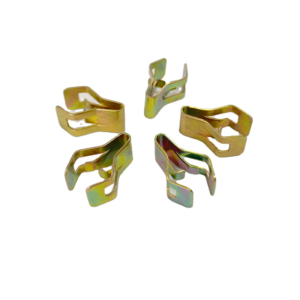
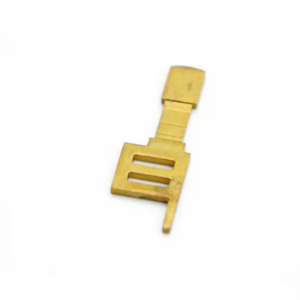
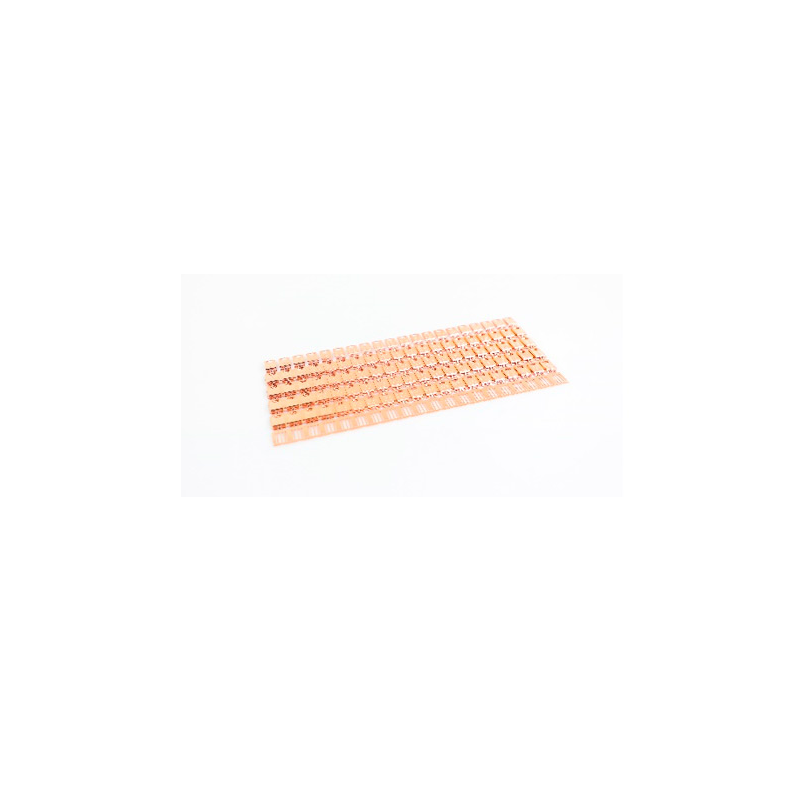
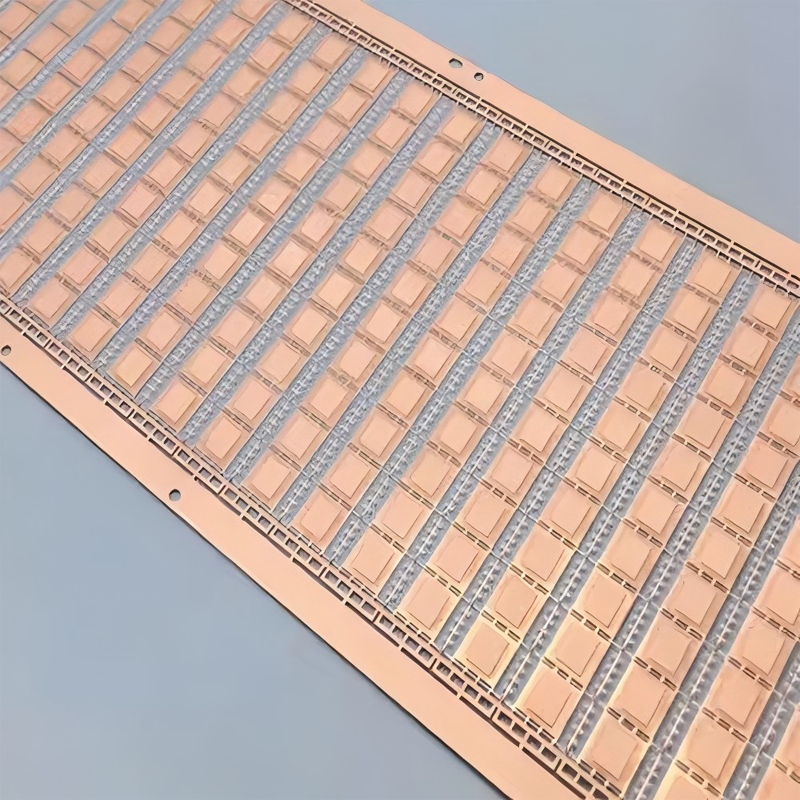
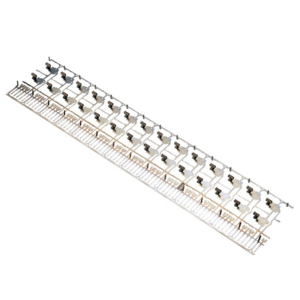
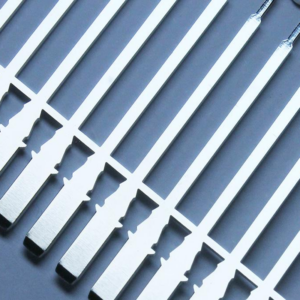
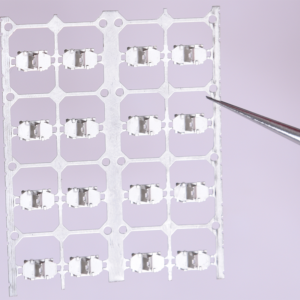
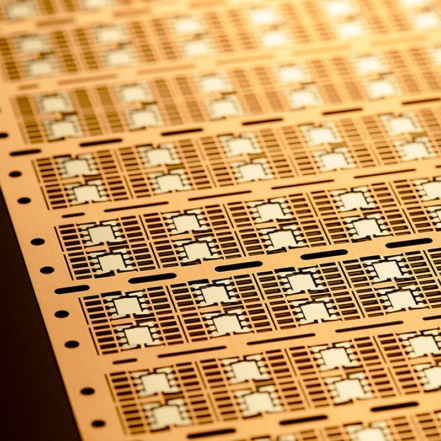
A copper lead frame is a key component used in semiconductor packaging, providing a foundation for mounting and connecting integrated circuits (ICs) within electronic devices. Made from high-conductivity copper or copper alloys, these lead frames offer excellent thermal and electrical conductivity, which is essential for efficient signal transmission and heat dissipation in high-performance applications. Copper lead frames are typically stamped or etched to precise specifications, creating intricate patterns that ensure reliable connectivity between the IC and external circuitry. Commonly used in microelectronics, including smartphones, computers, and automotive systems, copper lead frames contribute to the durability, performance, and miniaturization of electronic components.
Features
Place of Origin: Xiamen, China
Brand Name :OEM
Material: Stainless Steel/ Metal
Type :Hardware Parts
Size: Customized Size
Surface treatment: Galvenized/ Custom
Certificate ISO9001:2015/IATF16949
Delivery :by sea/air/express
Service Customized :OEM
Application :Industrial
Quality Control Process for Metal Stamping
- Incoming Material Inspection
– Description: Evaluate raw materials for compliance with specifications and quality standards before production. This includes testing material properties such as thickness, hardness, and chemical composition.
- Pre-Production Sampling
– Description: Conduct initial trials and inspections on pre-production samples to ensure that the stamping process and tooling produce parts within the required tolerances and quality levels.
- In-Process Monitoring
– Description: Implement continuous monitoring during production to ensure that the stamping process remains consistent. This includes checking for defects like warping, misalignment, and dimensional accuracy.
- Dimensional Inspection
– Description: Use precision measuring instruments such as calipers, micrometers, and CMMs (Coordinate Measuring Machines) to verify that parts meet specified dimensions and tolerances.
- Functional Testing
– Description: Test parts for proper functionality, ensuring they meet the required performance criteria. This may include checks for fit, alignment, and operational integrity.
- Surface Quality Inspection
– Description: Inspect the surface finish of parts for defects such as scratches, dents, or coatings issues. This includes visual inspections and using tools to assess surface texture and coating integrity.
- Post-Production Testing
– Description: Conduct additional tests on completed parts, including stress and load tests, to confirm durability and reliability under real-world conditions.
- Final Inspection and Approval
– Description: Perform a comprehensive final inspection before shipping, ensuring that all parts meet quality standards and specifications. Approve or reject parts based on this thorough evaluation.
- Documentation and Reporting
– Description: Maintain detailed records of quality control inspections and tests. Document any defects or non-conformance issues and report them for corrective actions.
- Feedback and Continuous Improvement
– Description: Review quality control data to identify trends and areas for improvement. Implement corrective actions and process improvements to enhance overall product quality and efficiency.
